How to Get Verified on Instagram: Free Request or Meta Verified
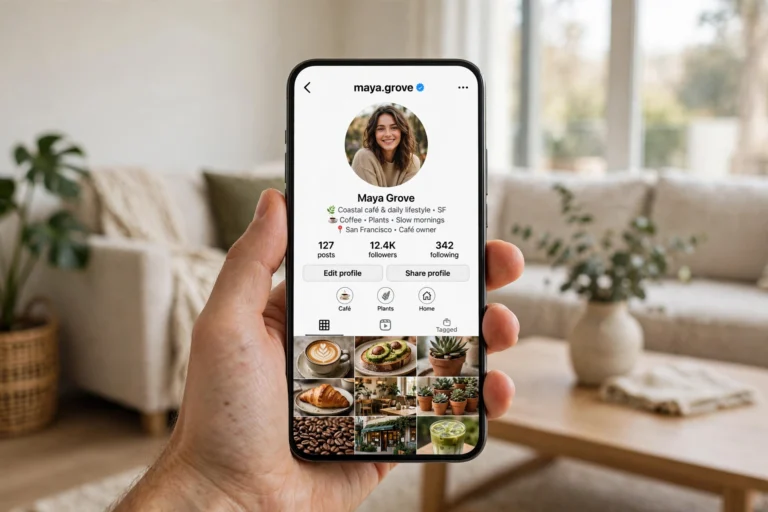
Every day, fake accounts copy real creators, brands and small businesses on Instagram, and followers cannot tell which profile is the real one. The blue verified badge solves that problem in one glance, because it tells everyone that Instagram has checked the identity behind the account. There are two ways to get it in 2026: you can ask Instagram for a free badge if you are a notable public figure or brand, or you can subscribe to Meta Verified and get the same badge after an ID check. This guide shows you exactly how to get verified on Instagram through both routes, what each one costs, what Instagram checks before it says yes, and what to do when your request is turned down.
The Two Ways to Get Verified on Instagram
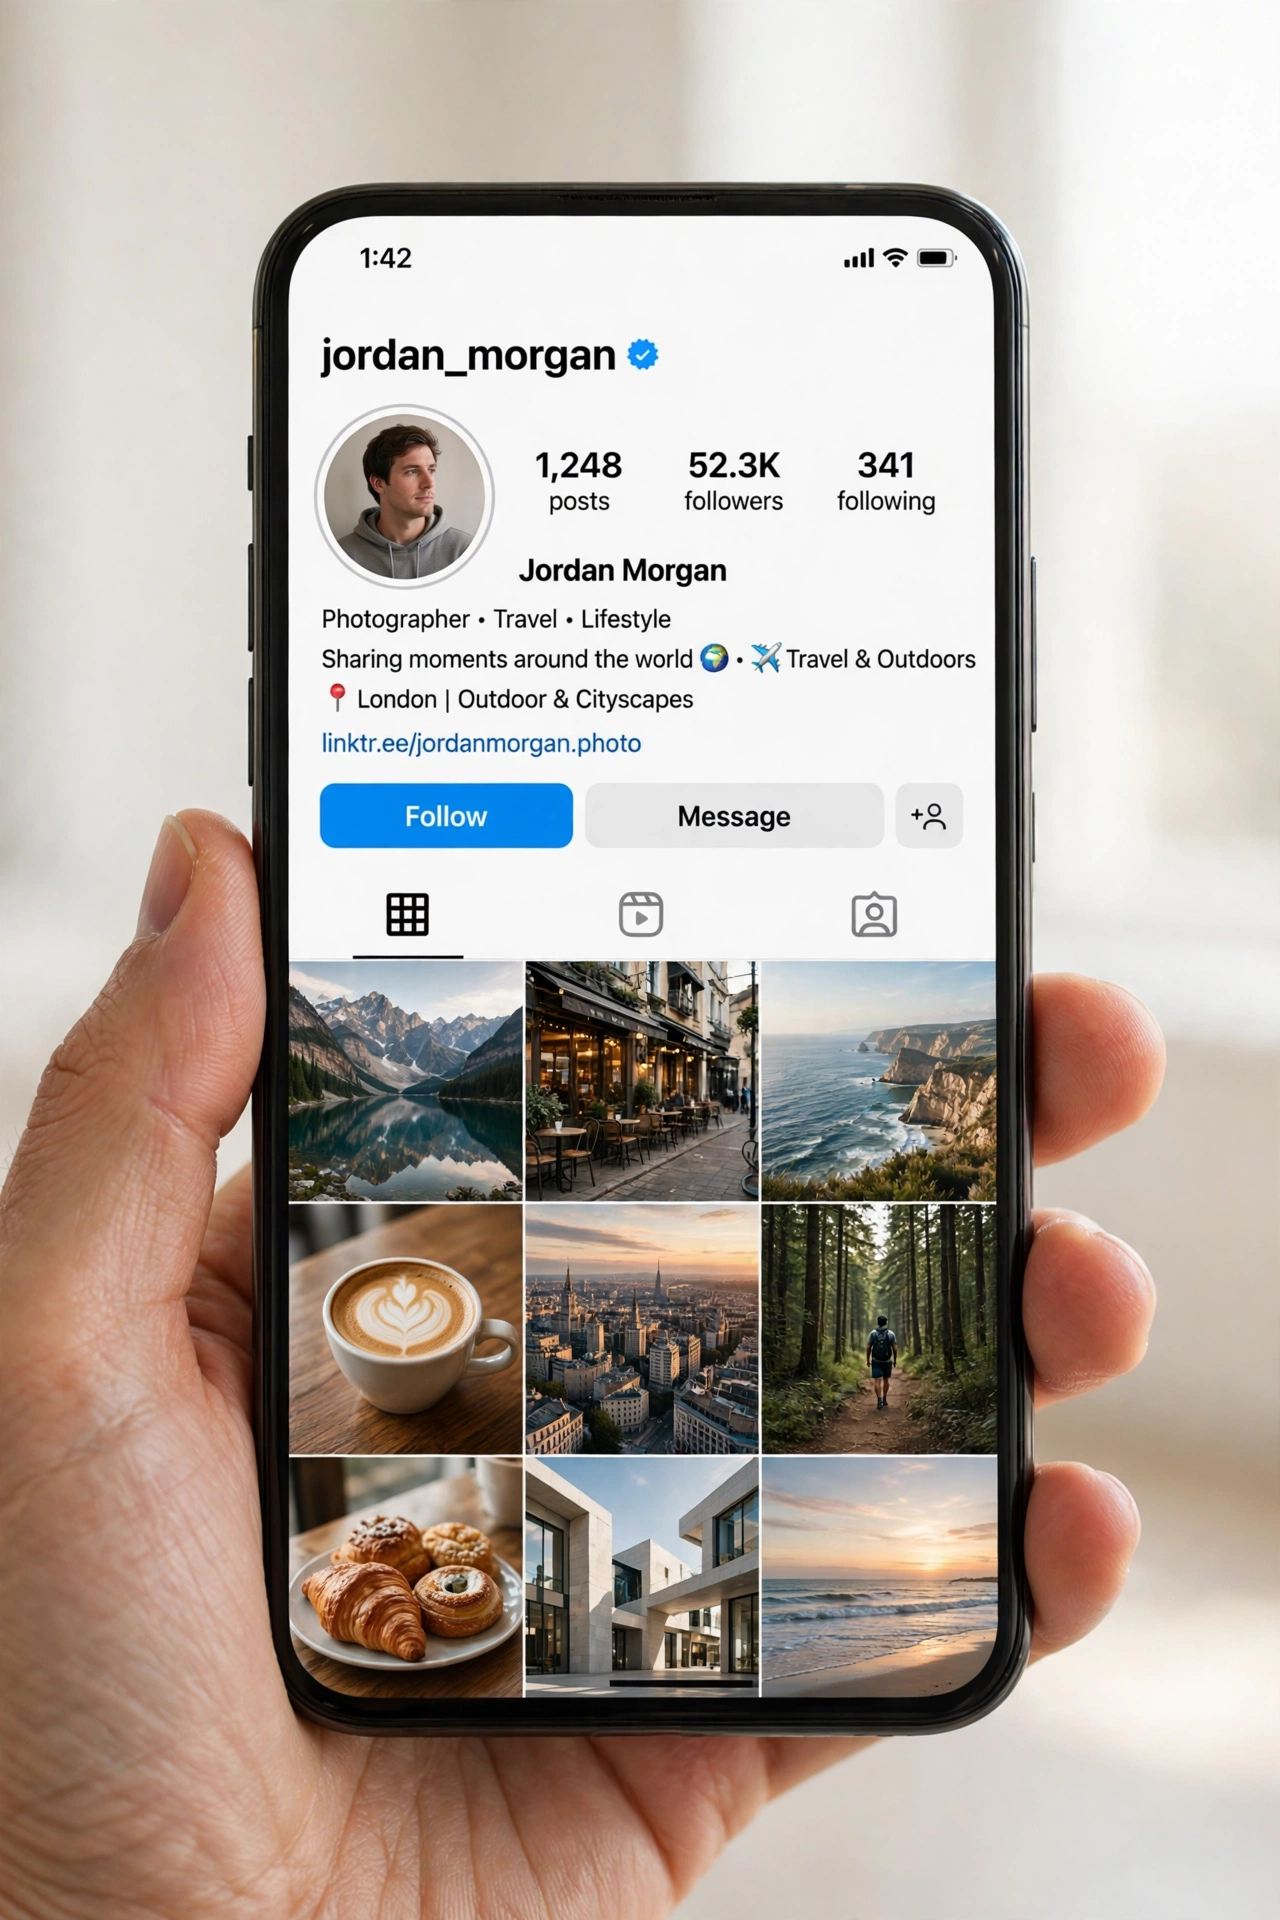
Instagram offers two routes to the blue checkmark, and the badge looks exactly the same whichever route you take. Nobody viewing your profile can tell whether you earned the badge for free or pay for it every month. What differs is who qualifies, what you have to prove and whether you pay. Most people should understand both routes before they apply, because picking the wrong one wastes weeks. Learning how to get verified on Instagram starts with this choice, and the table below makes the difference clear in seconds.
| Free Notability Request | Meta Verified (Paid) | |
|---|---|---|
| Cost | Free | Monthly subscription, from $11.99 a month on the web and $14.99 a month in the iOS or Android app in the US |
| Who qualifies | Notable public figures, celebrities, brands and organisations | Anyone 18 or older with a valid government ID and a qualifying profile |
| What Instagram checks | Authenticity, uniqueness, completeness and notability, including independent press coverage | Identity match between your government ID, your name and your profile photo |
| How you apply | In-app verification request form | Subscribe through Accounts Center or the Meta Verified menu, then upload your ID |
| Decision time | Up to 30 days | Usually within 48 hours after the ID review |
| Extra benefits | Badge only | Impersonation monitoring, access to account support and exclusive stickers |
| Badge appearance | Blue checkmark | Blue checkmark, identical |
If you are regularly mentioned in the press or searched for by name, apply for the free route first, because it costs nothing. If you are an ordinary creator, a small business owner or a professional who simply wants followers to know the account is really yours, Meta Verified is the faster and more realistic route. Either way, the steps below walk you through the exact process, so you can decide with facts instead of guesswork.
What the Blue Checkmark Actually Means
The blue checkmark is an identity check, not a popularity award. Instagram places the badge next to your username to confirm that the account genuinely belongs to the person, brand or organisation named on it. It does not mean Instagram endorses your content, and it does not automatically push your posts to more people. What it does is build trust at first sight: a visitor who lands on your profile knows within a second that they found the real account and not a copy.
That trust matters most for accounts that get impersonated. Scammers clone popular creators and small businesses, then message followers with fake giveaways, fake investment offers or fake customer support links. A verified badge separates your real profile from those copies, and Meta Verified adds proactive monitoring that looks for impersonators on your behalf. For a business, the badge also reassures new customers who found you through a search or an ad and are deciding whether to trust you with their money.
The badge also changes how your account appears in some parts of the app. Verified accounts often appear near the top of comments and search results when people type in a business name, and they can show up as a recommended account to follow. These are side effects of being a confirmed real account, not a promise of extra reach. Instagram has never said the free badge increases reach, so treat the badge as proof of identity first and a small visibility bonus second.
One more fact surprises many people: there is no official follower count for verification on Instagram. Accounts with a few thousand followers have been verified through the free route because they had strong press coverage, while accounts with hundreds of thousands of followers have been refused because they had none. Follower count is not one of the four criteria Instagram lists, and buying followers to look notable only hurts you, because Instagram checks authenticity before anything else.
How to Get Verified on Instagram for Free: The Notability Request
The free route is the original verification process, the one Instagram used before Meta Verified existed. You ask Instagram to review your account, Instagram checks it against four criteria, and it says yes or no. It costs nothing, but it only works if you are genuinely well known and covered by several independent news sources. Follow these five steps to send your request.
Step 1: Open your Instagram profile
Open the Instagram app and make sure you are signed in to the account you want to verify. Tap your profile photo in the bottom right corner to open your profile. You can only request verification from the mobile app, not from the desktop website, so do this on your phone.
Step 2: Tap the menu icon
Tap the three-line menu icon in the top right corner of your profile. This opens Settings and activity, where all account options live. If the menu labels look different in your version of the app, use the search box at the top of settings and type verification, because Instagram renames these menus from time to time.
Step 3: Open Business tools and controls
Scroll down to the For professionals section and tap Business tools and controls. On a personal account, the same option may sit under Account type and tools in settings. You need a creator or business account to see the full request form, so switch your account type first if you still use a personal account. Switching is free and takes less than a minute in settings.
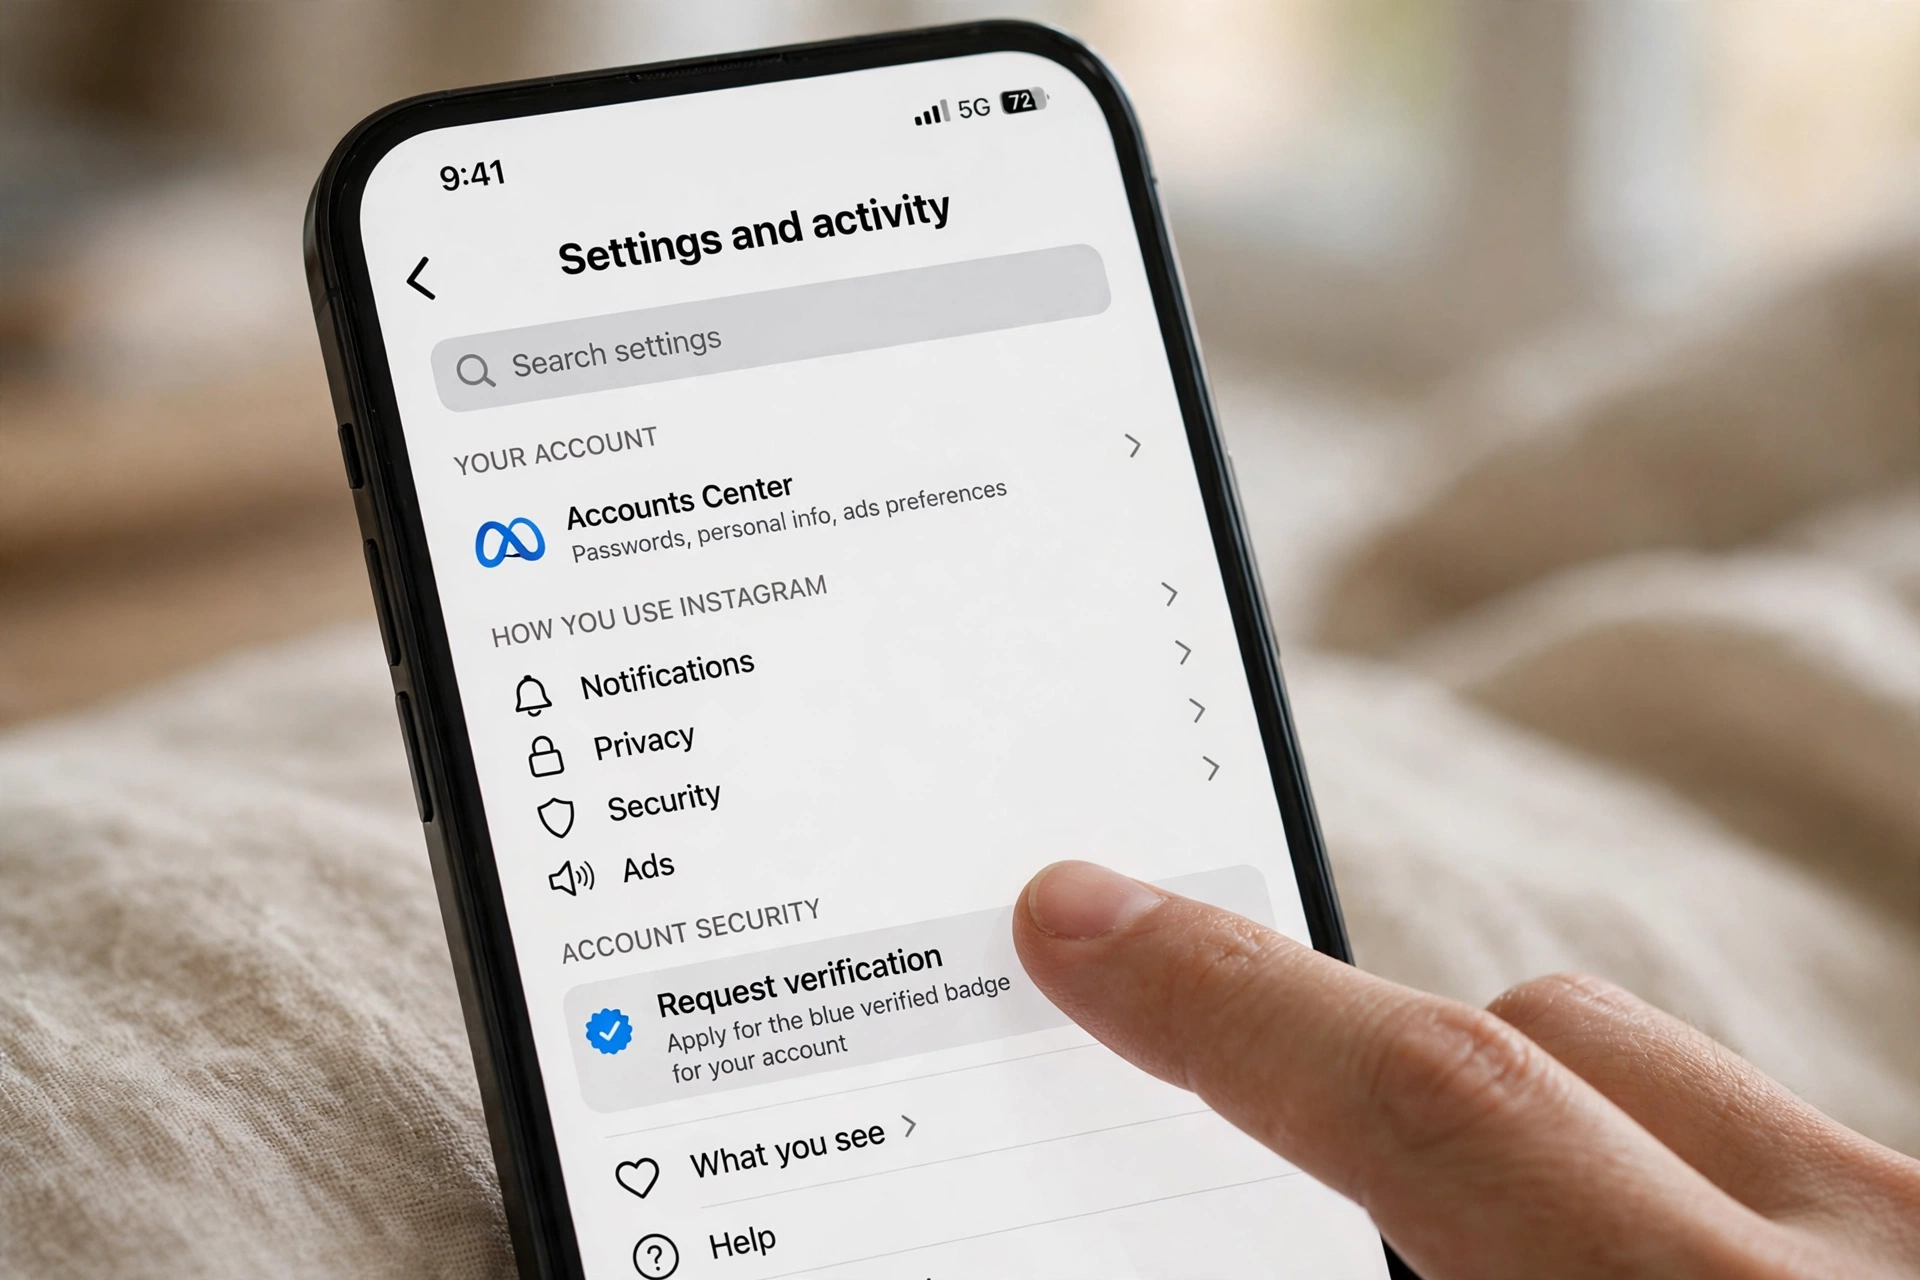
Step 4: Tap Request verification
Scroll to the bottom of this section to find the Request verification link and tap it. If you do not see it, your app may be out of date, so update Instagram from your app store and check again. Some accounts also see a prompt to join Meta Verified at the top of this screen instead, which is the paid route covered later in this guide.
Step 5: Fill out the form and submit
The form asks you to confirm authenticity and notability with documentation. You will need one or two identification documents, such as a passport, driver licence, national ID card, tax filing, utility bill or articles of incorporation for a business. You will also enter your category, the country where you are best known, any other names you are known by, and links to other social accounts that show your notability. The form also lets you add up to three links to articles about you, so choose your strongest independent press coverage. Fill in every field you can, even the ones marked optional, because a thin application is easy to refuse. When you are done, tap Submit and watch your notifications for the decision, which can take up to 30 days.
Do not send a second request while the first one is still under review. Applying again before a decision cancels the first application, so you lose your place in the queue. If Instagram turns you down, you can submit a new request 30 days after the refusal, and you should use that month to build real coverage instead of resending the same form, because nothing about your account will have changed otherwise.
The Four Notability Criteria Instagram Checks
Instagram lists four things it looks for in a free verification request, and you should read them as a pass or fail test, not a score. Failing even one of them is enough for a refusal, so check yourself honestly before you apply. Anyone learning how to get verified on Instagram should treat this checklist as the real application, because the form is only the paperwork around it.
| Criterion | What it means | How to check yourself |
|---|---|---|
| Authentic | The account represents a real person, a registered business or another real entity | Your name, photo and business details match your official documents |
| Unique | One account per person or business, with exceptions only for language-specific accounts | No second account claims to be the same person or brand |
| Complete | A public account with a bio, a profile photo and at least one post | Profile is public, bio filled in, photo uploaded, posts published |
| Notable | Well known and highly searched for, featured in several independent news sources | Search your name in news search and find several independent articles about you |
Notability is where most requests fall down. Instagram wants independent coverage, which means articles written about you by news outlets that you did not pay. A press release you paid to distribute, an advertorial, a sponsored feature or a listing in a directory does not count. A quick way to test yourself is to search your name or brand in a news search. If the results are mostly your own website, your own social accounts and directory listings, you are not notable in the way Instagram means yet. If several independent publications have written about you, you have a case worth making.
General interest accounts are almost never verified through the free route. Instagram says it does not verify accounts that cover broad topics without a clear notable person or brand behind them, so a meme page or a repost account has no realistic chance, no matter how many followers it has. The free badge belongs to people and brands the public already searches for by name.
How to Get Verified on Instagram with Meta Verified
Meta Verified is the paid route, and it is open to almost anyone who meets the basic identity rules. You subscribe, you prove you are who you say you are with a government ID, and Instagram turns the badge on. There is no notability test, no press coverage requirement and no follower minimum. For creators and small businesses who cannot pass the free route, this is the realistic way to get the badge. Follow these steps to subscribe.
Step 1: Turn on two-factor authentication
Before you subscribe, turn on two-factor authentication in Accounts Center under Password and security, if it is not on already. Meta Verified requires it, and the subscription screen will stop you if it is missing. Two-factor authentication also protects your account from the impersonators the badge is meant to guard against, so it is worth doing even if you never subscribe.
Step 2: Open Accounts Center and tap Meta Verified
Open your profile, tap the three-line menu, then open Accounts Center and tap Meta Verified. Some app versions put a Meta Verified entry directly in the main menu instead, so tap that if you see it there. Choose the Instagram account you want to verify, because the subscription and the badge belong to one account only and cannot move to another account later.
Step 3: Check the eligibility details and the price
The screen shows the eligibility rules and the current price for your country. For individuals in the US, the price is about $11.99 a month if you sign up on the web and $14.99 a month in the iOS or Android app, according to Hootsuite’s July 2026 guide. Business plans cost more and come in tiers with extra features. Prices vary by country and change over time, so treat the figure on your own checkout screen as the real one. Read the subscription terms on this screen before you continue, including what happens if you cancel.
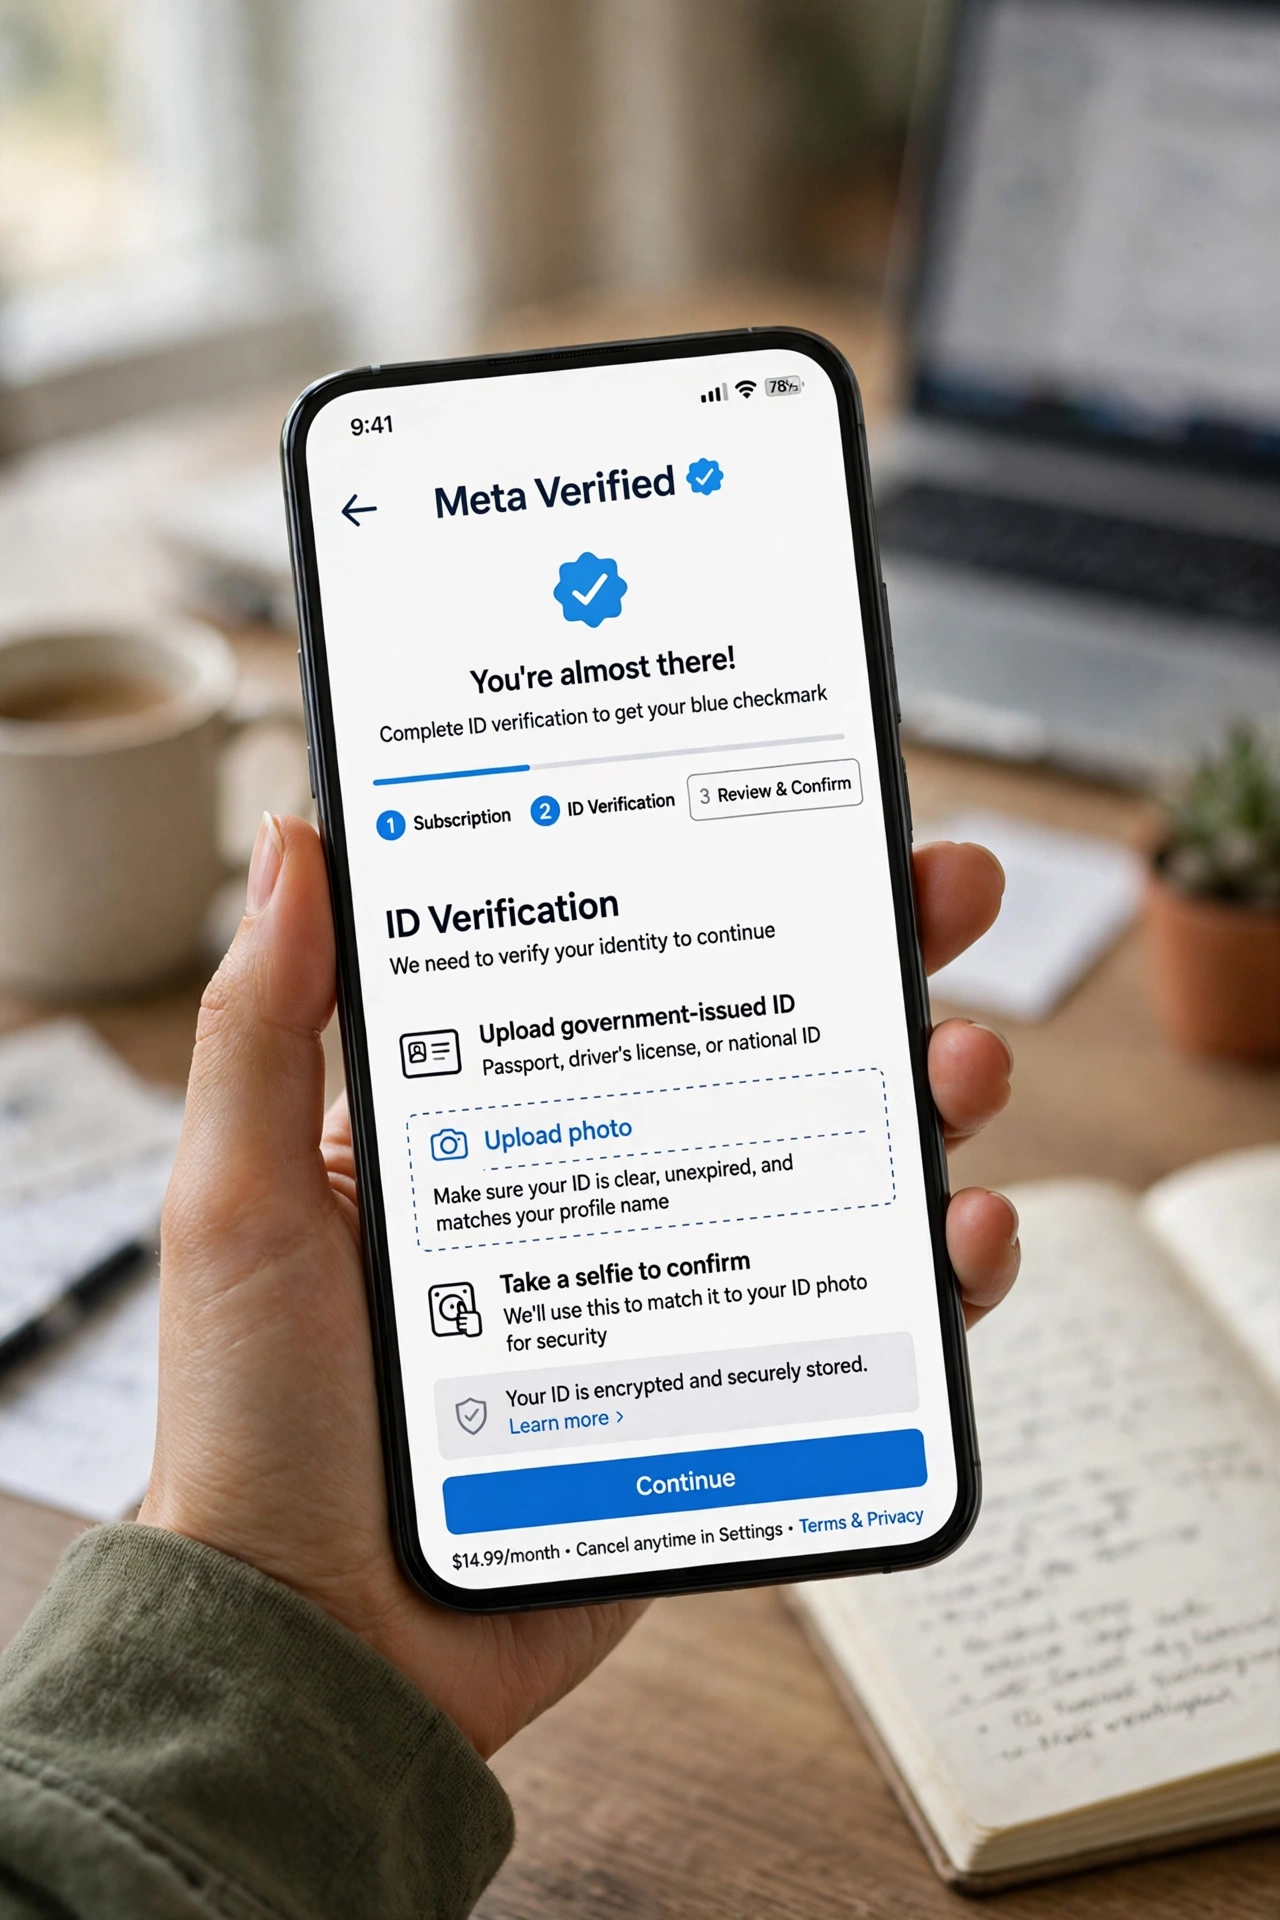
Step 4: Upload your government ID
Upload a photo of your government-issued ID when asked. The name and the photo on the ID have to match your profile name and your profile photo, and the photo needs to show your face clearly. A mismatch between your ID and your profile is the most common reason the review stalls, so update your profile name and photo to match your ID before you start. Some regions may also ask for a selfie video as an extra check.
Step 5: Confirm the subscription and wait for review
Confirm the subscription and wait for Meta to review your details. The review usually takes up to 48 hours, and the badge appears on your profile once it passes. Do not change your profile name or photo while the review is running, because a change can force a fresh review. If you are asked to join a waitlist, it usually means Meta Verified is still rolling out in your country, and the wait can last a few weeks.
Meta Verified Requirements Checklist
Meta Verified has a fixed checklist, and the subscription screen stops you if any item is missing. Run through this list before you pay, so you do not get stuck halfway through the signup. This is the same checklist Meta publishes on its own eligibility pages, so there are no hidden requirements beyond it.
- You are at least 18 years old, or the age of majority where you live
- You live in a country where Meta Verified is available
- Your profile uses your full name and follows Instagram naming standards
- Your profile photo shows your face clearly
- You meet the minimum activity requirements, such as prior posting history, so brand new accounts with no posts are turned away
- You have a government-issued photo ID, such as a passport or driver licence
- Two-factor authentication is turned on for your account
- Your account follows Instagram Terms of Use and Community Guidelines
Meta Verified is also available for businesses, and the requirements and pricing differ from individual subscriptions. Business plans are sold in tiers, with higher tiers bundling extras such as enhanced support and additional profile features. A business needs official business documents instead of a personal ID, and the business name on the documents must match the profile.
Meta Verified Cost by Plan
The price of Meta Verified depends on where you live, whether you subscribe on the web or inside the app, and whether you choose an individual or a business plan. The table below shows the figures most commonly reported for individual subscribers in the US, but always check the price shown in your own account before you commit, because Meta changes pricing by country and over time.
| Plan | Price in the US | What you get |
|---|---|---|
| Individual, web signup | From $11.99 a month | Blue badge, impersonation monitoring, account support, exclusive stickers |
| Individual, iOS or Android signup | From $14.99 a month | Same benefits as the web plan, billed through the app store |
| Business | Tiered pricing, higher than individual plans | Badge plus enhanced support, extra profile features and business tools, depending on the tier |
| Facebook add-on | Separate subscription | Verifying your Instagram account does not verify your Facebook Page, so each platform is billed separately |
One cost detail catches many people out: verifying both Instagram and Facebook means two subscriptions, because each platform is billed separately. The same applies if you subscribe through the app store on one device and the web on another. Decide which accounts actually need the badge before you pay for more than one.
Before you subscribe, ask yourself whether the badge is worth a monthly fee for your account. If people already impersonate you, or customers keep asking whether your profile is the real one, the badge pays for itself in trust. If nobody impersonates you and your followers already know you are real, that money may work harder in content or ads. The badge alone does not bring in a single customer, so pay for it when identity is the problem, not when reach is the problem.
7 Tips to Improve Your Chances of Getting Verified
Whether you apply for free or pay for Meta Verified, a strong profile makes the process smoother and the badge more useful once you have it. These seven tips cover the preparation most people skip, and each one takes less than an hour. A complete, active, trustworthy profile is also the foundation of how to get verified on instagram, because Instagram checks your profile before it checks anything else.
1. Optimise your Instagram profile first
Upload a high-quality profile photo or a clear logo if you run a business, use your real name or business name as your username, and write a bio that says exactly who you are and what you do. Add your location, choose the right business category if you have a business account, and add a contact button so people can reach you. Create Story Highlights that show your best work, because they sit on your profile like a shop window. An optimised profile builds trust before Instagram ever looks at your application, and it makes visitors more likely to follow you, which gives Instagram even more reason to verify you.
2. Post consistently
Instagram rewards active accounts, so keep a consistent posting schedule. One post a week is rarely enough to look like a real, active presence, so aim to post several times a week and stay active in stories and comments every day. Scheduling a week of content at once makes daily activity far easier to sustain, and a steady stream of posts also gives the reviewer something real to look at. A silent account with three old posts looks abandoned, and abandoned accounts do not get badges.
3. Build real press coverage
If you want the free badge, press coverage is the deciding factor, so build it before you apply. Pitch your story to local news sites, industry blogs and podcasts that cover your niche, and give them a real angle, such as a launch, an award, a community project or a result your customers care about. One strong article from an independent outlet is worth more than ten paid listings, because Instagram ignores paid and promotional content when it judges notability. Keep a list of your best coverage links, because the application form asks for them.
4. Make your name easy to search
Use the same name everywhere: your Instagram username, your website, your other social profiles and your press coverage should all match. When a reviewer searches your name, they should find one clear person or brand, not five similar accounts and a dead website. A consistent name also helps the notability check, because Instagram looks at how often people search for you by name. If your brand name is common, add a distinguishing word to your bio and your website title so search results point to you.
5. Clean up your account before you apply
Delete or archive posts that break Instagram rules, remove bought followers if you ever bought any, and stop using automation tools that follow and unfollow people in bulk. Instagram checks authenticity, and a history of rule-breaking is an easy reason to refuse. Check that your account is public, your bio is filled in and your profile photo is current, because an incomplete profile fails the completeness test before the reviewer even reaches notability.
6. Link your other profiles and website
Add your website and your other social accounts to your Instagram bio and to the verification form. These links help Instagram confirm that you are the same person across the internet, and they give the reviewer places to check your identity and your work. A verified badge on one platform also supports an application on another, so if you are verified on Facebook or another network, link it and mention it in your application.
7. Do not pay anyone for a badge
Nobody outside Meta can grant you a verified badge, and anyone who promises one for a fee is running a scam. Paying a third party can also get your badge removed and your account disabled, because buying or selling badges breaks Instagram Terms of Use. The only two ways to get the badge are the free request in the app and the Meta Verified subscription in the app. Everything else is a trap.
What to Do If Instagram Rejects Your Request
A refusal is common, especially for the free route, and it is not the end of the road. Instagram does not always explain the exact reason, but the usual cause is weak notability: not enough independent press coverage. Use the 30-day waiting period to fix the real problem instead of resending the same application. Publish guest posts, get interviewed on podcasts, speak at events, win an award, or get your local news site to cover your work, then apply again with stronger links. A careful second application with new evidence has a far better chance than a quick repeat of the first one. If you need the badge sooner and you meet the identity rules, Meta Verified is the practical fallback while you build notability, and the full process of how to get verified on instagram through the paid route takes days, not months.
If your Meta Verified subscription is refused, the cause is usually an ID mismatch or a missing requirement. Check that your profile name matches your ID exactly, that your profile photo shows your face clearly, that two-factor authentication is on, and that your account has posting history. Fix the mismatch, wait a day, and try again. If the app still blocks you, contact Instagram support through the app and ask which requirement is failing, because support can see the exact check that stopped you.
Keep in mind that a verified badge can also be removed after you get it. If you change your username, your name or your profile photo in a way that breaks the identity match, Instagram can ask you to verify again. Notable accounts that earned the free badge may not be allowed to change their username at all, so make sure you are happy with your name before you apply. If Instagram finds that you received verification using false or misleading information, it can remove the badge and disable the account entirely.
Verification Scams to Avoid
Verification scams target exactly the people who want the badge most, so learn the warning signs before you apply. Instagram never sends you a direct message offering a badge, and it never asks you to pay through a direct message or an outside form. Anyone selling a verification service or a guaranteed blue tick is running a scam. At best you lose your money, and at worst you hand over your login details and lose the whole account. The safest way to learn how to get verified on instagram is through the official steps in this guide and the Instagram Help Center, never through a stranger in your inbox.
- A direct message from an account called something like Verification Team or Meta Support, offering you a badge
- A form that asks for your password, a login code or your two-factor authentication code
- A promise of the badge within hours, for a fee paid outside the app
- Pressure to act fast or lose your eligibility
- A link that takes you to a login page that is not instagram.com
- Someone who asks you to pay with gift cards, crypto or a wire transfer
If a scam message has already got hold of your login, change your password straight away, turn on two-factor authentication, and check your account for unknown sessions in Accounts Center. Then report the scammer from their profile so Instagram can remove the account. If you already paid a scammer, contact your bank or payment provider about a chargeback, because Meta cannot refund a payment you made outside its own checkout.
Free Request or Meta Verified: Which Route Should You Pick?
If you run an ordinary small business, the notability route is a long shot unless you have had real, independent press. Meta Verified is the realistic option, as long as the subscription is worth it to you after reading the current terms. If you are a creator who gets impersonated, the paid badge plus impersonation monitoring solves the exact problem you face. If you are a public figure with press coverage, apply for the free badge first, because it costs nothing and the badge never expires as long as you keep meeting the rules. Many people do both: they subscribe to Meta Verified now and apply for the free badge later, once their press coverage is strong enough. Whichever route you choose, the steps in this guide show you how to get verified on instagram without wasting time on the wrong application.
One final consideration is what happens if you cancel Meta Verified. The badge goes away when the subscription ends, because the badge is part of the subscription. The free notability badge, by contrast, stays as long as you keep meeting the criteria. That difference matters if you plan to pay for a month just to look verified for a launch, because the badge will disappear when the payment stops. Treat Meta Verified as an ongoing cost, not a one-time purchase.
Frequently Asked Questions
Is it free to get verified on Instagram?
Yes, the notability request is free, but it only works for well-known accounts with independent press coverage. Meta Verified is a paid monthly subscription, so check the price shown in your own account before you subscribe.
How long does Instagram verification take?
A free notability request can take up to 30 days for a decision. A Meta Verified identity review is usually faster, often within 48 hours. If you are turned down for the free badge, you can apply again 30 days after the refusal.
How many followers do I need to get verified on Instagram?
There is no official follower count for verification. Instagram checks authenticity, uniqueness, completeness and notability, and follower count is not one of those criteria. Strong press coverage matters far more than a follower number.
Does the Meta Verified badge look different from the free badge?
No, the blue badge looks the same on your profile whichever route you used to get it. Nobody can tell from the badge alone whether you earned it for free or pay for it every month.
Can I get verified on Instagram without being famous?
Yes, through Meta Verified. The paid subscription only checks your identity with a government ID, so any adult with a qualifying profile can subscribe. The free route is the one that needs fame and press coverage. If you want the full picture of how to get verified on instagram without fame, the Meta Verified steps above are the route to follow.
Can someone sell me a blue tick?
No. Instagram never offers badges by direct message or charges through outside forms. Badge sellers are scammers, and buying a badge breaks Instagram rules, so you risk losing the badge and the account itself.
Can I transfer my verified badge to another account?
No, verification cannot be transferred to another account or owner. The badge belongs to the account that was verified, and a new account has to apply again from the start.
What happens if I change my username after getting verified?
Accounts verified for notability may not be allowed to change their username, and Meta Verified subscribers may have to re-apply if they change their username, name or date of birth. Decide on your final username before you apply, and read the current rules in the app before you change anything after verification.
Final Checklist Before You Apply
Before you send any application, run through this short checklist so a small mistake does not cost you a month. Your profile is public, your bio is complete, your photo shows your face, and you have at least a few real posts. Two-factor authentication is on. Your profile name matches your government ID exactly. You have chosen your route, free or paid, and you know what it costs and what it checks. If you are applying for free, you have your three strongest press links ready. With those items in place, you are ready to follow the steps at the top of this guide and get the blue badge on your profile. For the official rules behind every step here, see the Instagram Help Center verification pages at help.instagram.com, and for account help after you apply, the guide to how to get verified on instagram account setup on this site covers the basics of creating and managing your account.
Sources: Instagram Help Center, Verification requirements and Meta Verified eligibility pages (help.instagram.com); Hootsuite, How to get verified on Instagram: apply or Meta Verified (blog.hootsuite.com); Lilach Bullock, How to Get Verified on Instagram: Two Routes (lilachbullock.com).